iPhone 16 Pro Max Back Glass Replacement — Coil/Flash/Ext Mic Transfer
Based on the narrated teardown: heat from bottom, shallow picks, transfer wireless coil, flashlight and external mic, reassembly and test.
Step 1 | Remove bottom screws 步骤 1|
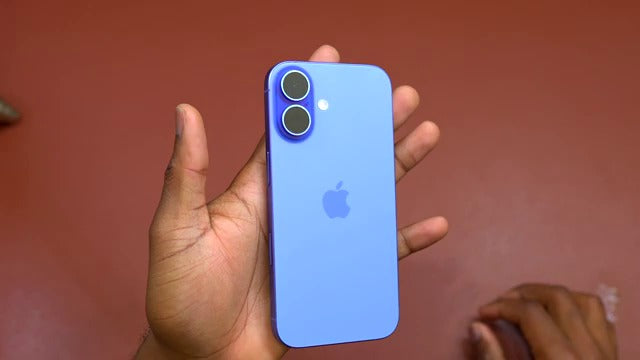
Remove the two pentalobe screws by the charging port; iPhone 16 external build differs slightly from iPhone 15.
Step 2 | Use V8/X1 Laser Machine 步骤 2|

Place the phone flatly on the machine, and then Preview and make sure the laser track is on the phone
Step 3 | Select the file (iphone8-16) according to the phone 步骤 3|
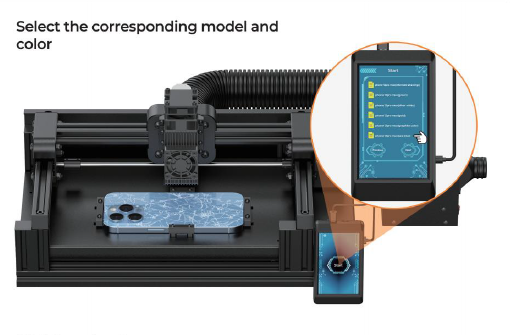
Select the file (iphone8-16) according to the phone
Step 4 | Must put the iron mold on the phone 步骤 4|

Choose the protective mold according to the phone model and put it on the phone
Step 5 | Open; remove shield; disconnect battery 步骤 5|打开后盖;拆压片;断开电池 02:04–02:40
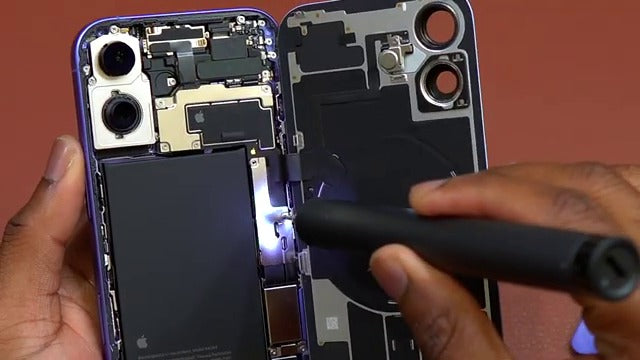
Remove two screws and slide the retaining plate toward the battery; disconnect the battery.
拆下两颗螺丝并将压片向电池方向滑出;断开电池连接。
Step 6 | Identify the flex module (coil/flash/ext mic) 步骤 6|识别总成(线圈/闪光/外麦共一体) 02:56–03:10
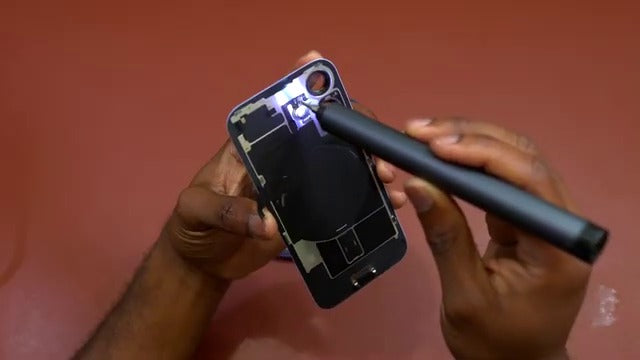
Back-glass assembly carries the wireless coil, flashlight, and external mic on one flex—ideally transfer as one piece.
背盖总成含无线充线圈、闪光灯与外置麦克风共一条排线,理想状态整片转移。
Step 7 | Free the flash & lift mic (500°F heat) 步骤 7|取下闪光灯并撬起外麦(约 500°F) 03:28–03:58
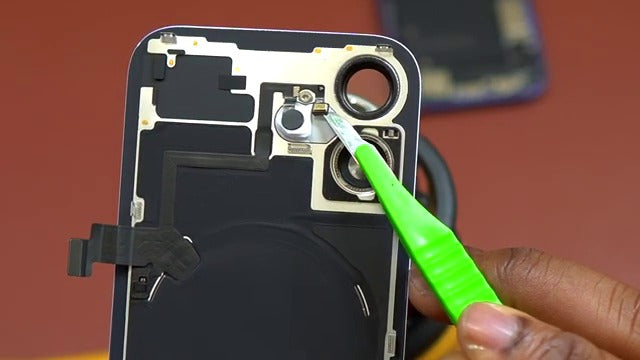
Remove the flash retainer screw and plate; pry the flash. Heat ~500°F and slide a thin blade UNDER the mic adhesive (not between mic and flex).
拆闪光灯压片与螺丝后撬出闪光灯;热风约 500°F,薄片从外麦双面胶底下穿过,切勿插入麦克风与排线之间。
Step 8 | Avoid tearing flex; tiny sensor risk 步骤 8|避免拉裂排线;注意小传感器 03:58–04:48
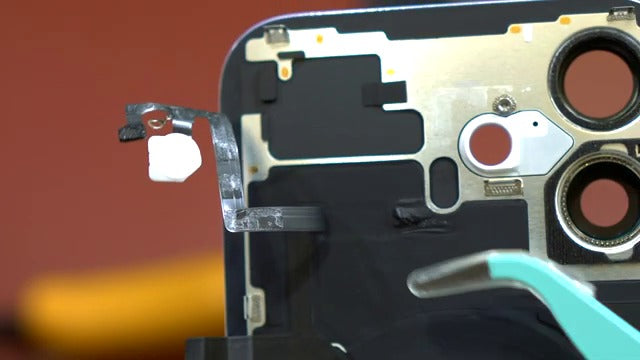
Some areas have no tape—do not overpull. A small sensor can cause update/boot issues if damaged.
局部无胶,勿用力过猛;小传感器若损坏,可能导致无法更新或重启循环。
Step 9 | Peel coil slowly; remove covers/tapes 步骤 9|慢慢剥离线圈;揭除覆盖物与胶带 04:48–05:06
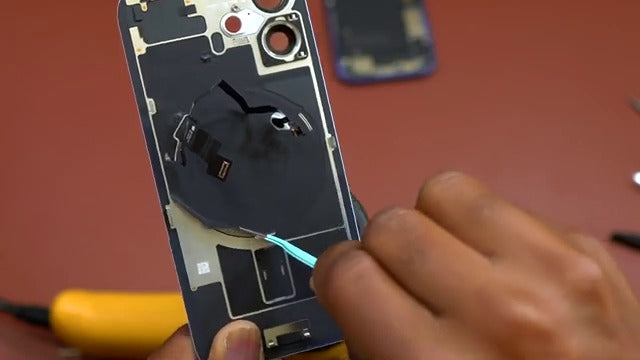
Keep heat on; peel plastic/graphite covers carefully to free the coil.
持续加热;慢慢揭除塑料/石墨覆盖,释放线圈。
Step 10 | Tidy outer wires; transfer magnets if needed 步骤 10|固定外缘游离线;必要时转移磁铁 05:46–06:44
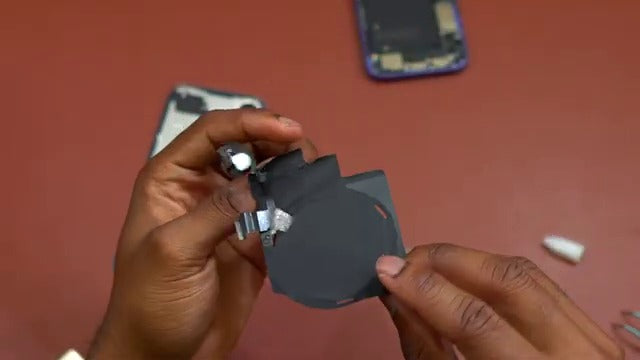
Glue down loose outer wires to the edge; if new back lacks magnets, transfer and glue them in matching spots.
将外缘游离小线点胶固定;如新背玻无磁铁,按位置从旧件转移并胶合。
Step 11 | Reinstall: top first (flash/mic), then press all 步骤 11|回装:先顶部闪光/外麦,再整体压实 06:44–07:21
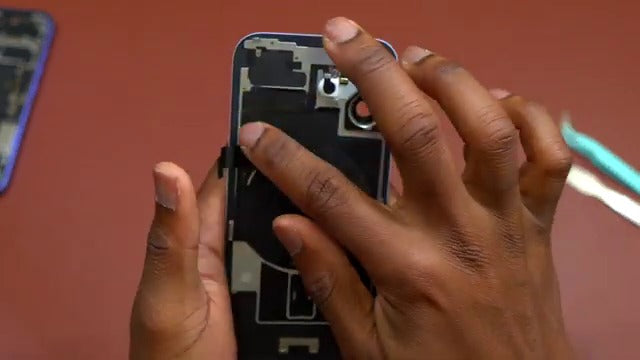
Start at the top with flash/mic, then align and press other parts; reinstall flash screw and retainer.
先定位顶部闪光/外麦,再对位压实其它部位;装回闪光灯螺丝与压片。
Step 12 | Lock shield first; then screws 步骤 12|压片先卡紧,再上螺丝 07:37
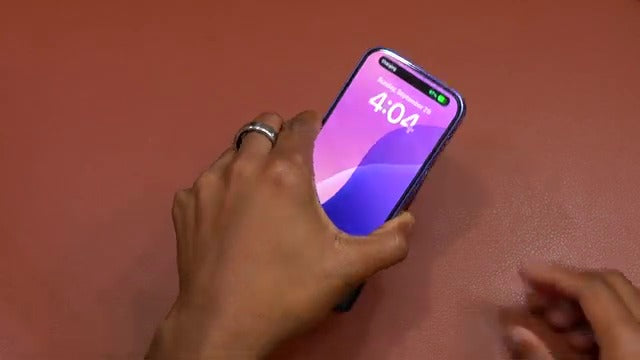
Lock the retaining plate before adding screws.
先将压片卡牢固,再拧上螺丝。
Step 13 | Seal & clamp 20 min; final tests 步骤 13|封合并夹紧 20 分钟;功能测试
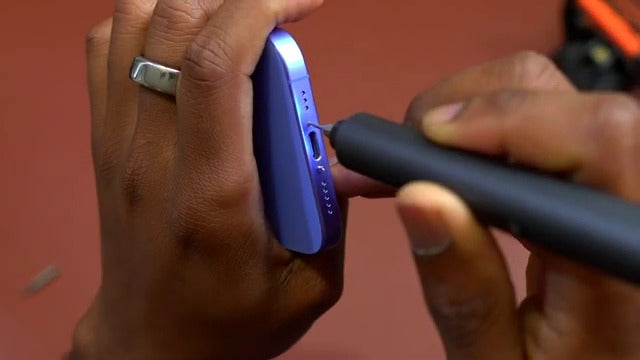
If reusing adhesive, add small dots of B-7000; close until pins click. Install bottom screws; clamp ~20 min. Clean residue; test wireless charging, flashlight, and external mic.
复用边胶时点少量 B-7000;合盖听见卡扣声;装回底部螺丝并夹紧约 20 分钟。清理残胶;测试无线充、闪光灯与外置麦。
